More frame welding stuff
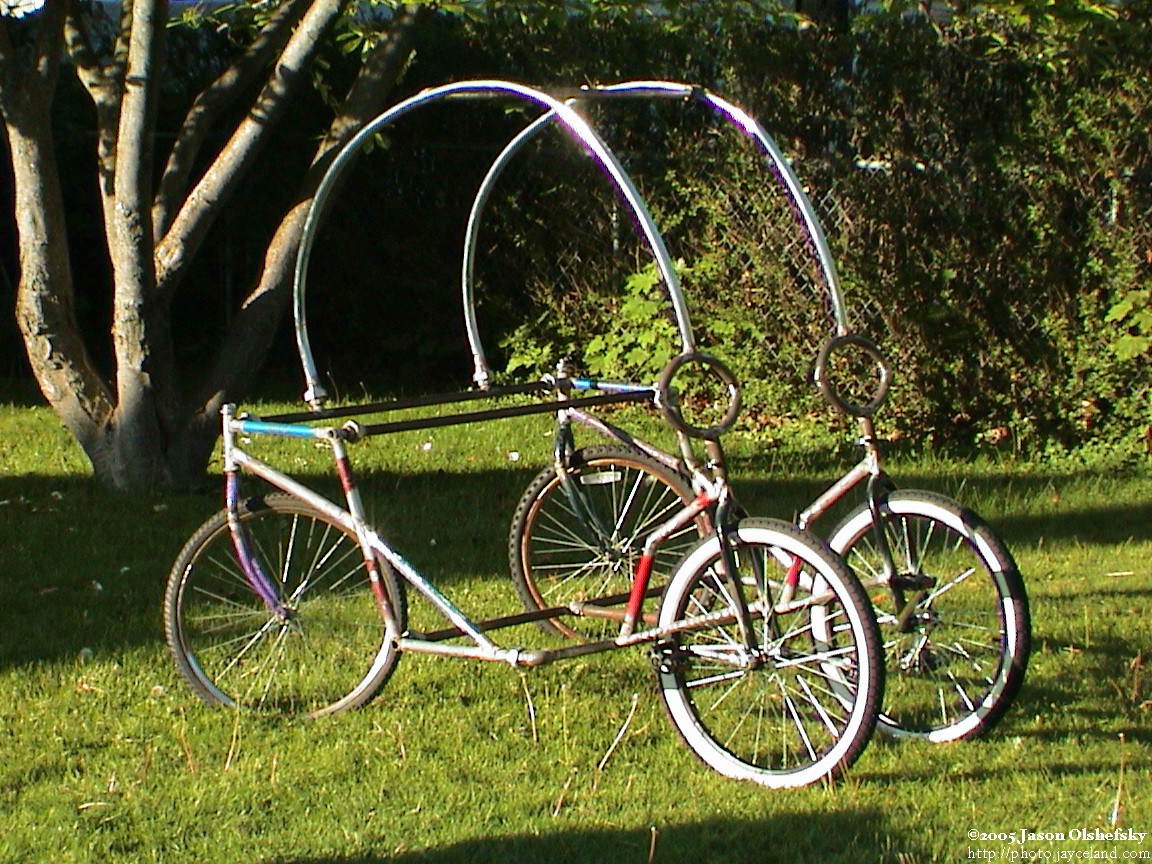
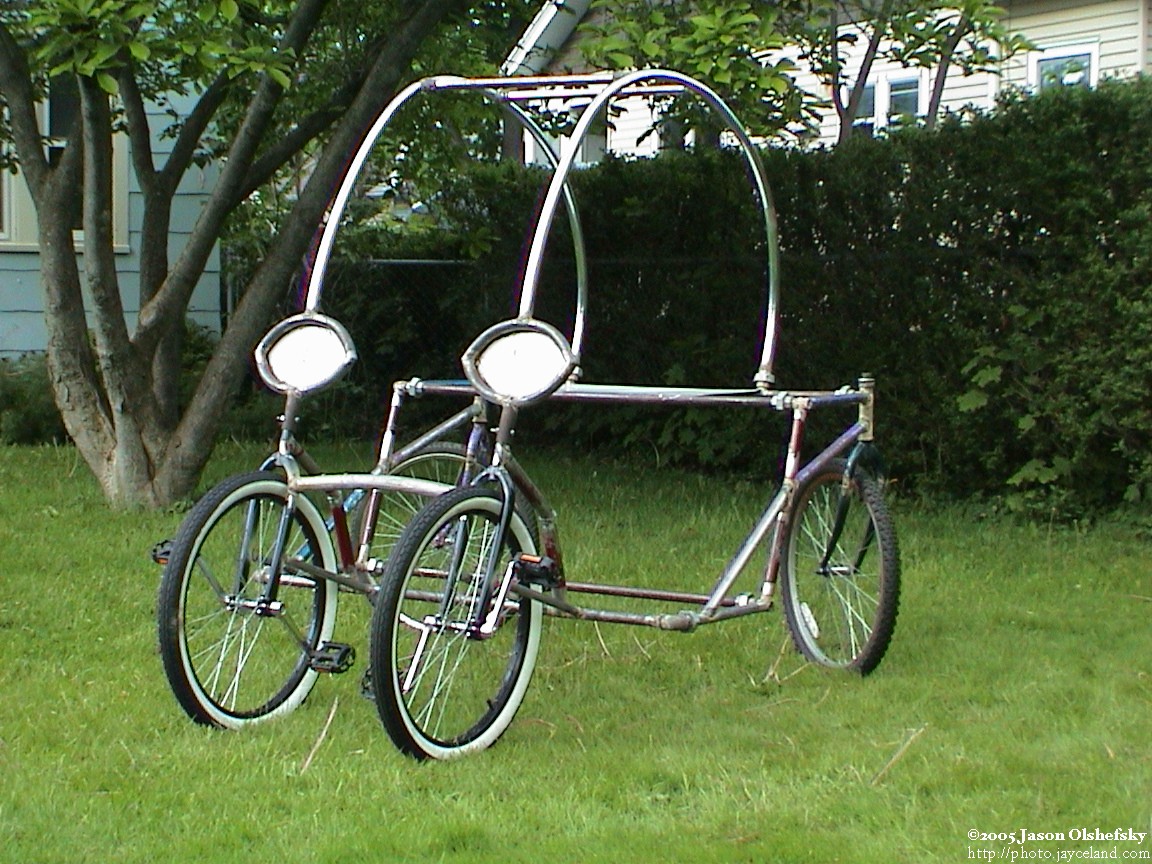
Posted: 2005-May-26 Filed under: Frame, Projects, The Bike With 2 Brains Leave a comment »I built the bent frame parts (the overarching parts) and welded them in place. I also added a cross-piece between the front unicycle forks. I welded the rear shelf in place and welded on the backs of the eyes. I used the sheet metal from a junked washing machine. I welded pipe angles behind the eye holes to house the LED's to light up the eyes. I created the pupils by welding a large washer onto a bolt head. I also installed mounting points for the seats.
Buy paint
Posted: 2005-May-24 Filed under: Frame, Projects, The Bike With 2 Brains Leave a comment »I went to Paint Masters (3327 Brighton-Henrietta Townline Rd.) and bought primer and sandpaper. According to them, I should apply the etching primer then either apply the fill-primer while it's wet or let it dry then very lightly sand it before applying the fill-primer. I should put on a couple coats of fill-primer and sand it with 320-grit paper. I'll need to sand off all the rust on the metal first, though, which could be a bit of a pain.
Buy more miscellaneous parts
Posted: 2005-May-24 Filed under: Lighting, Projects, The Bike With 2 Brains Leave a comment »I bought some milky-clear polyethylene tubing with a 1/2" outside diameter and a 3/8" inside diameter. It's easily large enough for lights and wires, and I decided on terminating it with 3/8" steel pipe which has an inside diameter that snugly holds the polyethylene tubing. I went with fender washers, 3/8" bolts, and pipe clamps to make the pupils of the eyes.
To connect the light tubes to the electronics, I went with DB-25 connectors with hoods. I should be able to crimp the tubing into the hoods and make a reasonably weather-tight fit.
Trying the Joule Thief
Posted: 2005-May-22 Filed under: Power Source, Projects, The Bike With 2 Brains Leave a comment »I found a circuit at a website called the Joule Thief. It's a nifty LED driver circuit that can allow an LED to be driven from a nearly dead battery. I figured it would work to boost the voltage from the generators I had but I couldn't get it to work with my limited knowledge (and lack of caring to figure out how the circuit really worked.) I suspect it relies on the nature of LED's to oscillate properly.
I got a couple bigger 12-volt motors from the electric cars for kids to drive around in — all from the trash. The smaller one can source 8A at 0.5V or 4 watts, and the larger can source 9A at 0.6V or 5.4 watts … both at 3,100 RPM.
First riding test
Posted: 2005-May-19 Filed under: Frame, Projects, The Bike With 2 Brains Leave a comment »I added the rear horizontal support and the one that goes across the middle of the bottom of the seat. I got it all assembled and put the pedals on and laid a couple 2×4's across to sit on. Freewheelers (1757 Mount Hope Ave) is at the end of my street so I took it there and the owner Roger and myself tried it out. We could only get it to run backward — it seems the trail on the rear casters isn't enough to allow them to swivel.
I modified the forks for longer rake by cutting notches, bending the forks, and welding it up. Roger and I tried it again. It sort-of works: it's very difficult to control. If you get going okay, you can stumble a little and it tends to spin around to do a 180. I kind of liked it for that.
I had to fix one of the forks so it wasn't bent so much because one of the tires was actually hitting the frame.
Generators #6: Now With Stronger Magnets
Posted: 2005-May-15 Filed under: Power Source, Projects, The Bike With 2 Brains Leave a comment »I drilled shallow holes and glued the rare earth magnets to a wood dowel to try them out as a generator rotor. They really are strong and tended to pop out of the glue to stick together. I managed to get it built with two poles but it didn't make an appreciable difference in the performance of the generator.
Finish more frame parts except horizontal bars
Posted: 2005-May-9 Filed under: Frame, Projects, The Bike With 2 Brains 1 Comment »I modified the frame so the connection from the front to the sides was rigid and I made bars to connect the seat back together. It all went together rather sloppy and I wasn't very happy with it. I decided to test the welds on the front of the side-frames and they snapped, breaking the tubing. I took a crack at fixing it but had to put it away for the day.
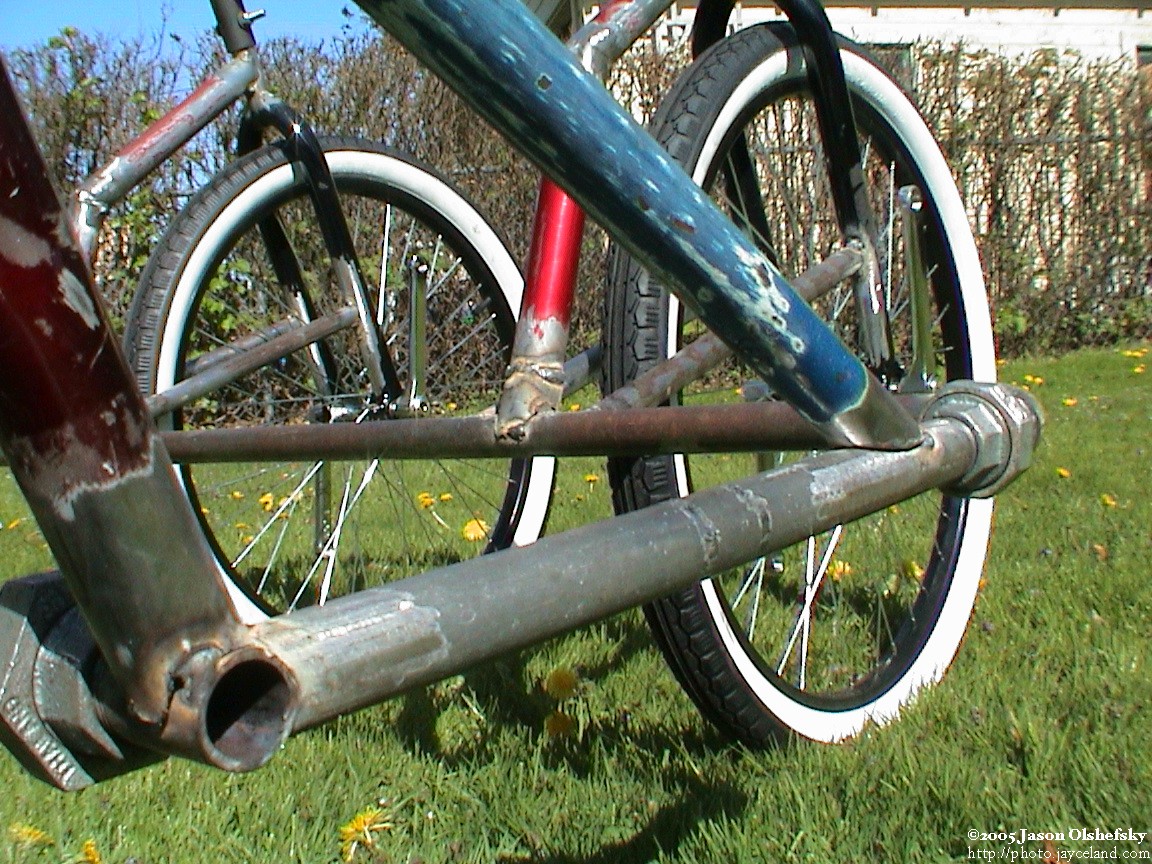
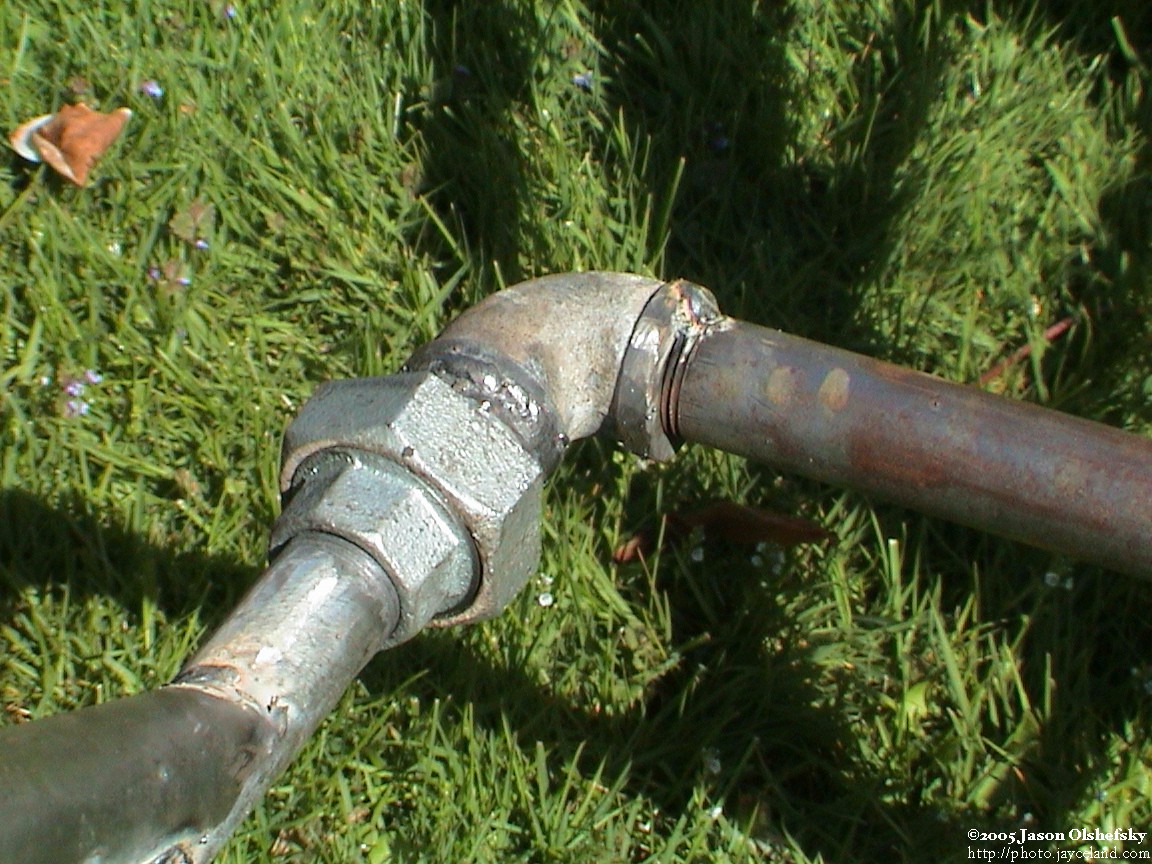
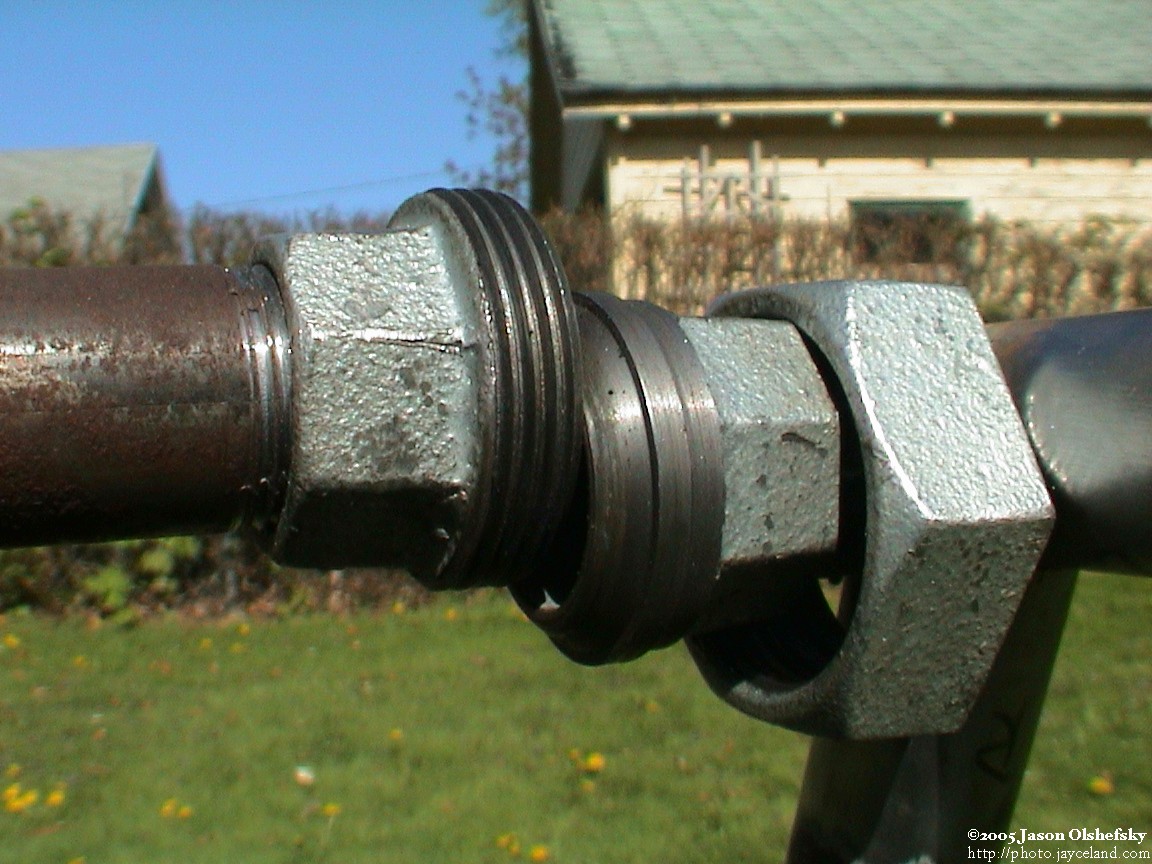
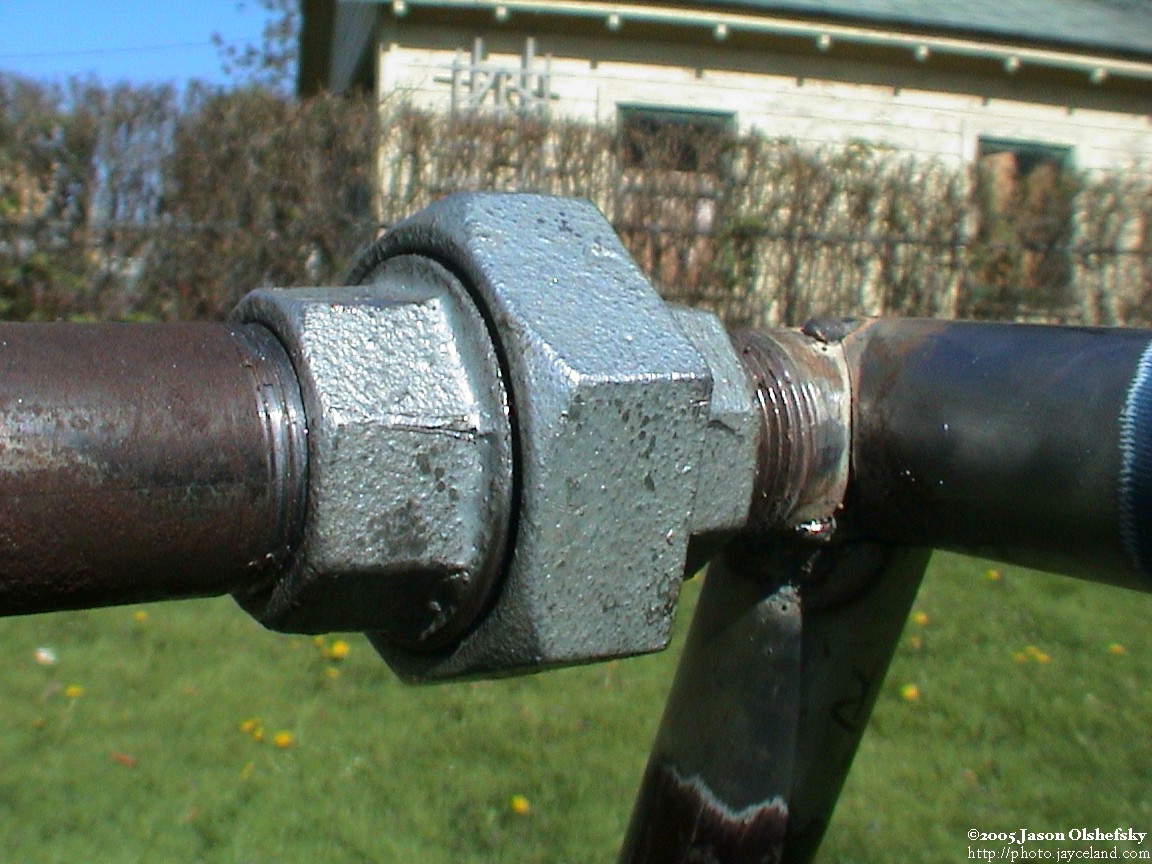
I decided to replace the bottom seat sides with 3/4" pipe because it's stronger than the bike tubes. (As a footnote, I used the pipe from my friend's house on Burkhard Place — it was the original water pipe that was installed 110 years ago … so if it breaks sometime in the future, that might be why.)
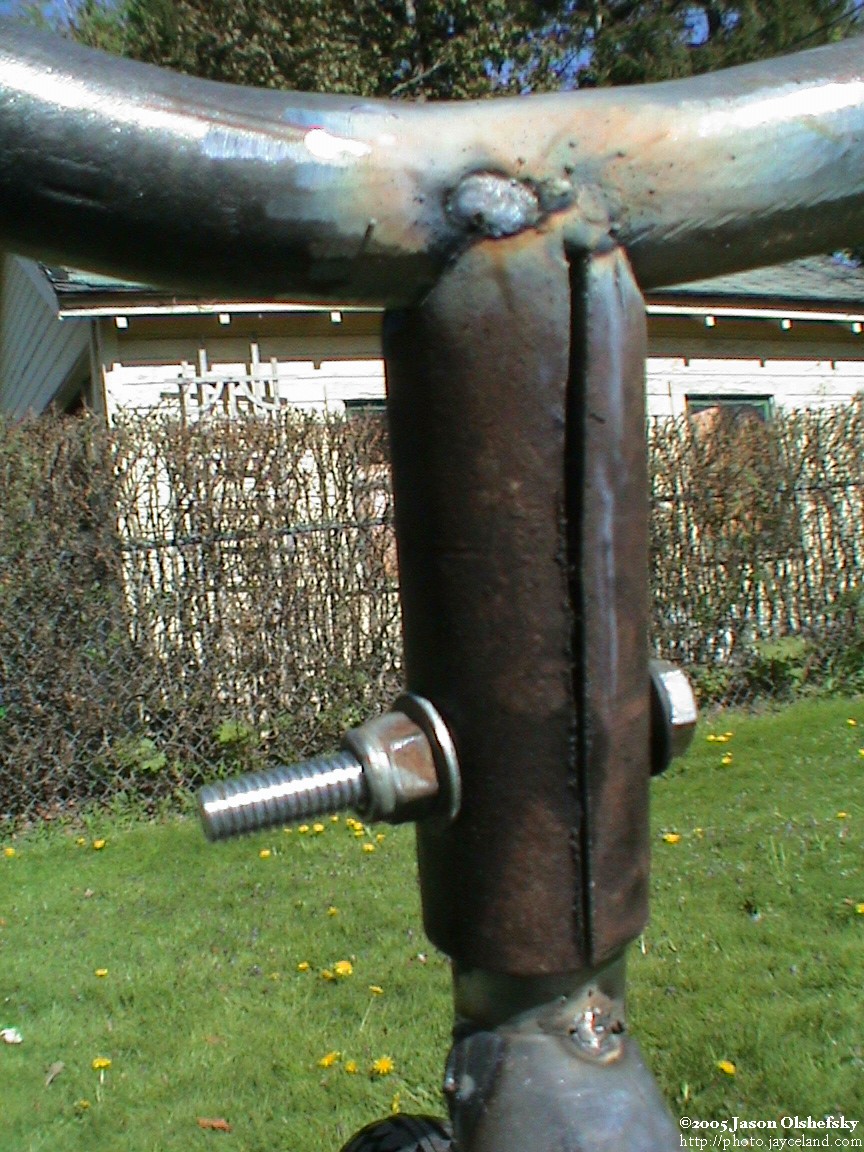
I also made couplers for the eyes by using 1" pipe with a slot cut in the side and bolt holes through. I mounted them to the unicycle forks. I put it all together and took some pictures.
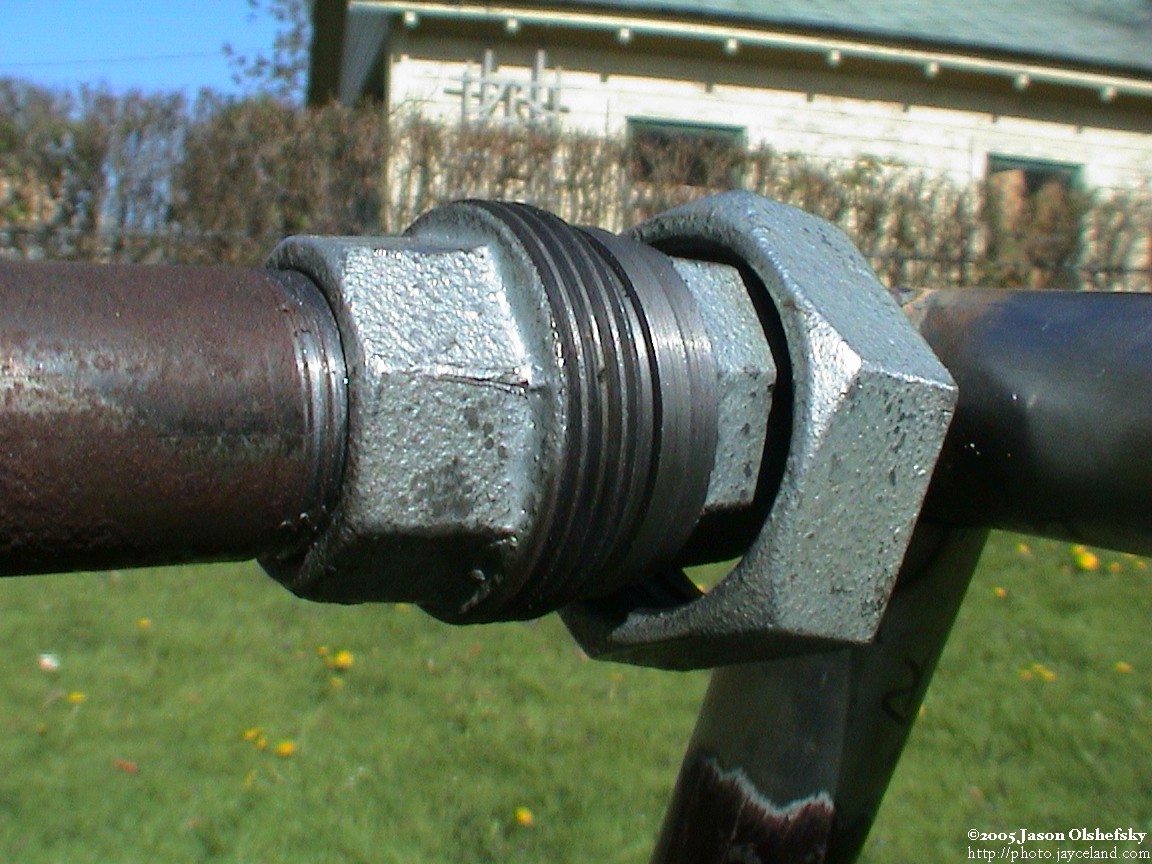
... but it's pretty easy to get them to snap into position (even if the photographer is falling over) ...
Assemble front-end of bike; dry-run frame assembly
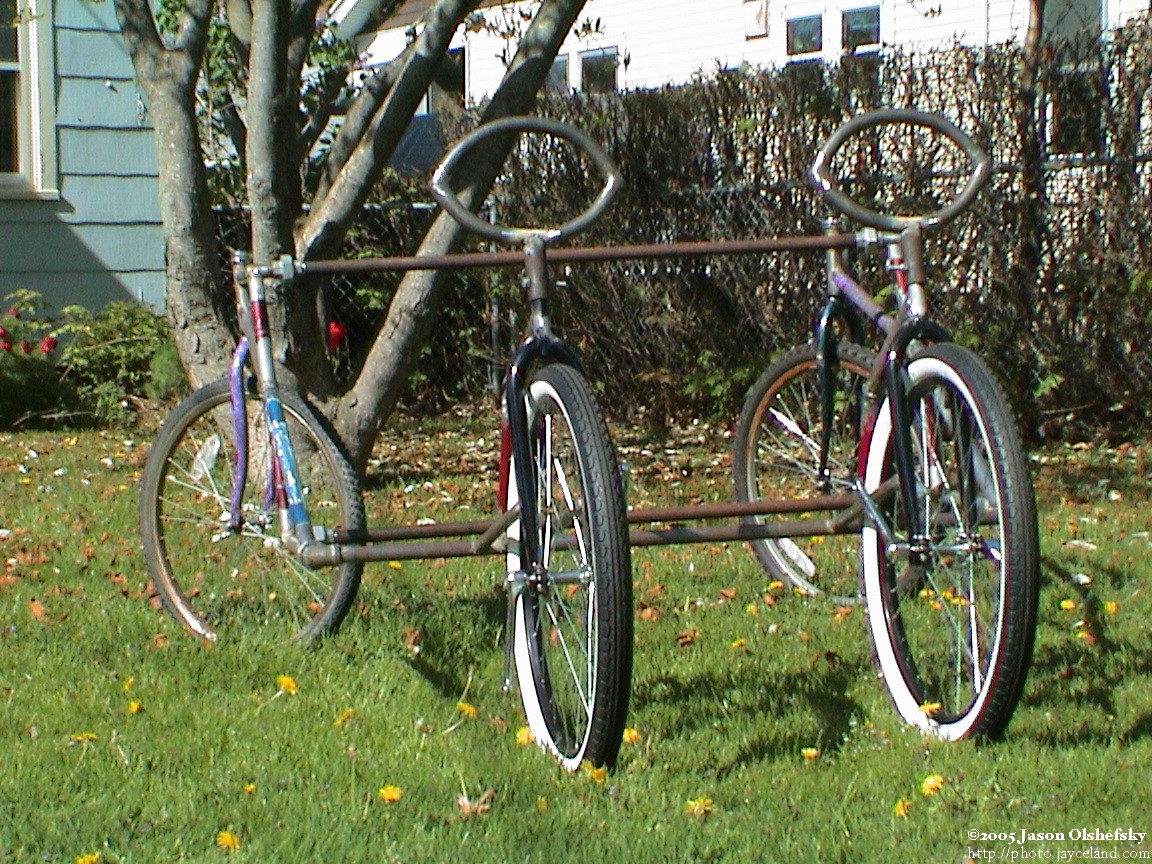
Posted: 2005-May-2 Filed under: Frame, Projects, The Bike With 2 Brains Leave a comment »I spent a bit of time getting the front-end of the frame redesigned. In my original concept, the triangular framework on around the unicycle wheel would meet the bottom seat bar at a single point. The center pole always met with the seat bar in line with the top of the fork, but I changed it so the two bars off the forks run back to the seat bar rather than to a common point which would attach to the seat bar.
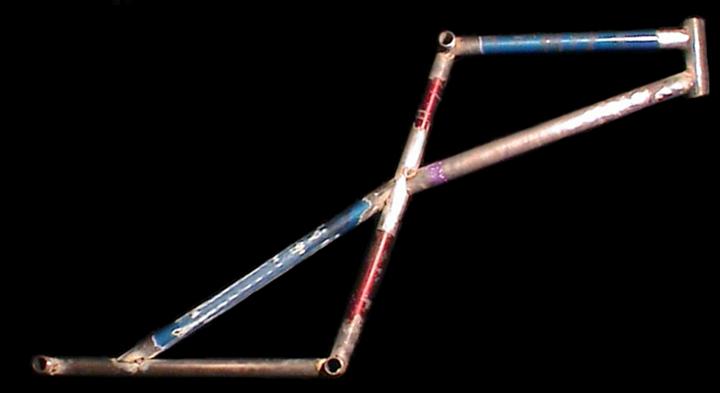
The kinked tube is part of the fourth bicycle frame sacrificed to the cause.
Oh yeah, and a few days ago I went to Austin-Spencer Collision (2433 Brighton-Henrietta Townline Rd.) who were much more amenable to painting things other than cars. The "short answer" is $60/hour for materials and labor to put paint on something. I figure I can easily pay $60 in spraypaint cans alone and do a crappy job, so I'm very tempted.
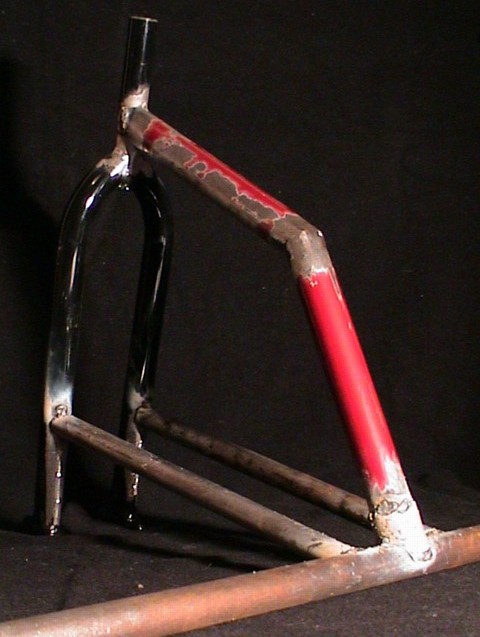
This is what the right-side of the front end looks like in case the worded description is too convoluted.
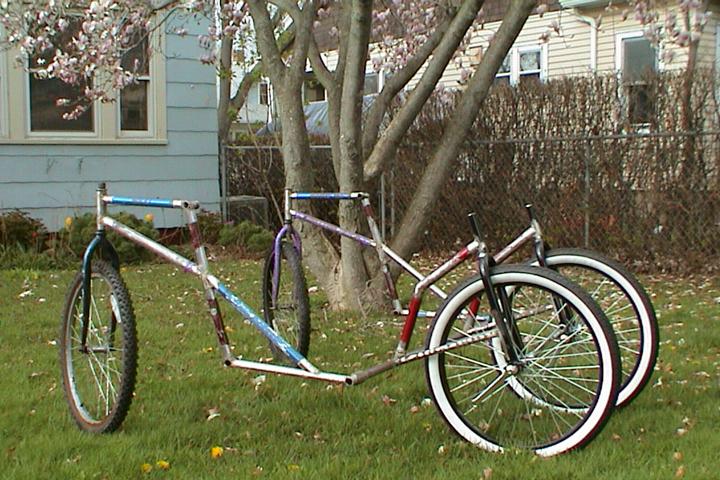
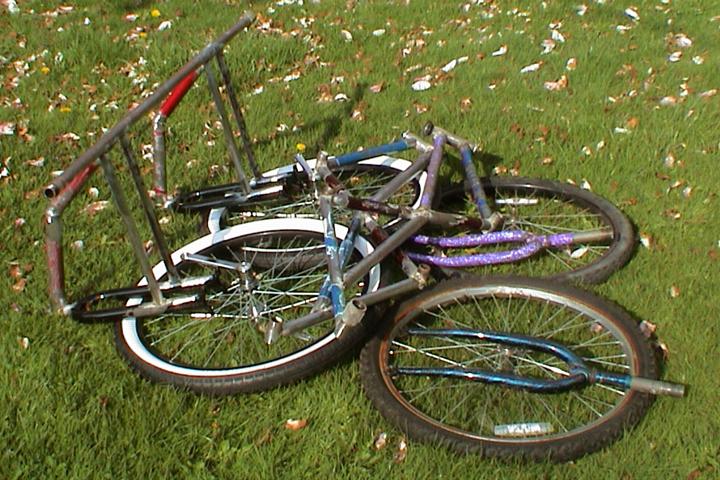
My magnolia tree is coming to the end of its first spring bloom. Oh ... yeah ... and this is what the frame looks like now.
Generators #5: The Permanent Magnet Rotor
Posted: 2005-April-24 Filed under: Power Source, Projects, The Bike With 2 Brains Leave a comment »I glued a couple magnets onto a wooden dowel with a screw through it to make a permanent magnet rotor. The magnets aren't particularly strong, and my first attempt had the poles opposite one another: that is, the north on one magnet mated with the south on the other, so the field was even weaker. (This all fit into the field coil from the Dirt Devil motor.) At 3,100 rpm, I could output 53 Hz AC at 2.7 volts open, 2.1 volts into 51 ohms (0.086 watts) and 0.7 volts into 3 ohms (0.16 watts).
While this isn't particularly promising, I purchased a pack of 50 0.25" diameter neodymium rare-earth magnets from K&J Magnetics. They're supposedly rated at N45 which I guess is almost as strong as you can get.
Finish tack-welding all of rear-end components
Posted: 2005-April-21 Filed under: Frame, Projects, The Bike With 2 Brains Leave a comment »I took a bit of a hiatus from the bike project to do something else but I finally got back to it. It took a little while to get my head around it again, but I quickly got going.
I put the seat bottom on the rear frame parts and added the diagonal cross-member (which didn't work out very close to specification, but no matter — I made it symmetrical.)

Recent Comments