Generators #6: Now With Stronger Magnets
Posted: 2005-May-15 Filed under: Power Source, Projects, The Bike With 2 Brains Leave a comment »I drilled shallow holes and glued the rare earth magnets to a wood dowel to try them out as a generator rotor. They really are strong and tended to pop out of the glue to stick together. I managed to get it built with two poles but it didn't make an appreciable difference in the performance of the generator.
Finish more frame parts except horizontal bars
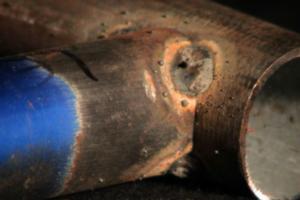
Posted: 2005-May-9 Filed under: Frame, Projects, The Bike With 2 Brains 1 Comment »I modified the frame so the connection from the front to the sides was rigid and I made bars to connect the seat back together. It all went together rather sloppy and I wasn't very happy with it. I decided to test the welds on the front of the side-frames and they snapped, breaking the tubing. I took a crack at fixing it but had to put it away for the day.
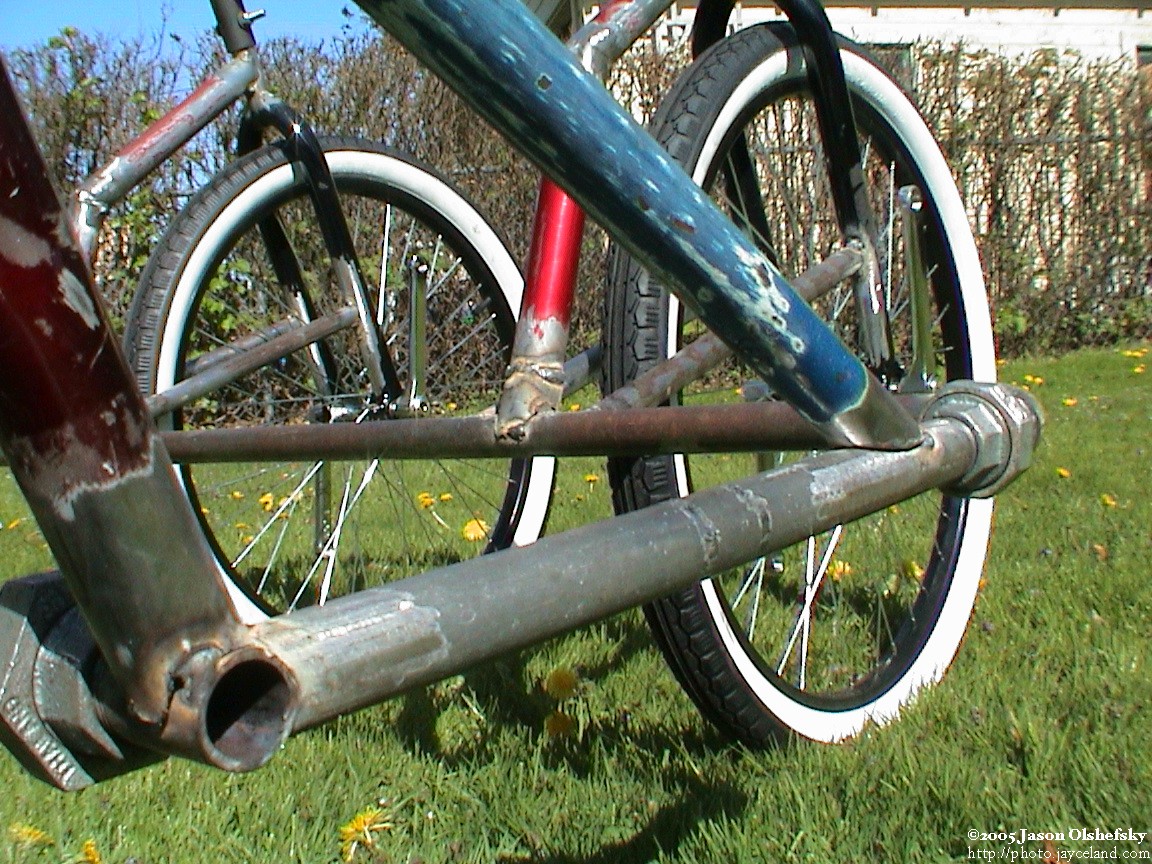
I decided to replace the bottom seat sides with 3/4" pipe because it's stronger than the bike tubes. (As a footnote, I used the pipe from my friend's house on Burkhard Place — it was the original water pipe that was installed 110 years ago … so if it breaks sometime in the future, that might be why.)
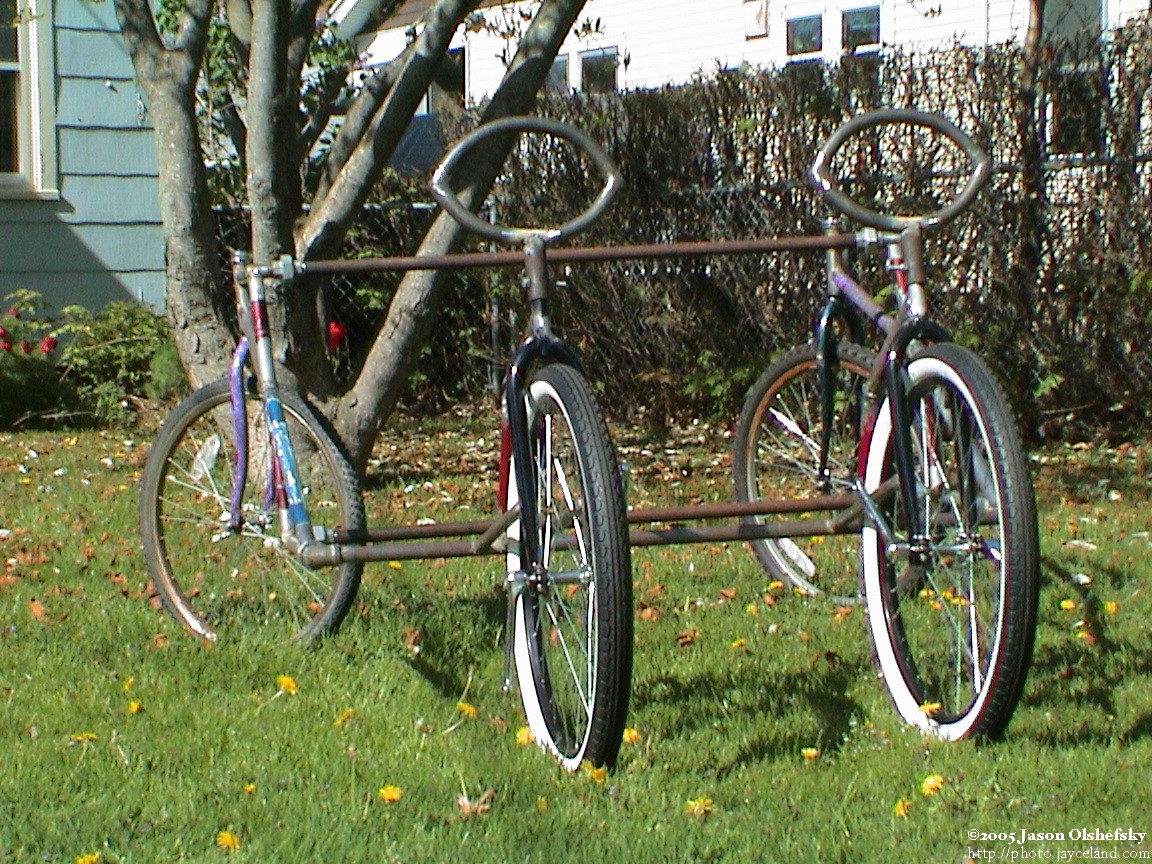
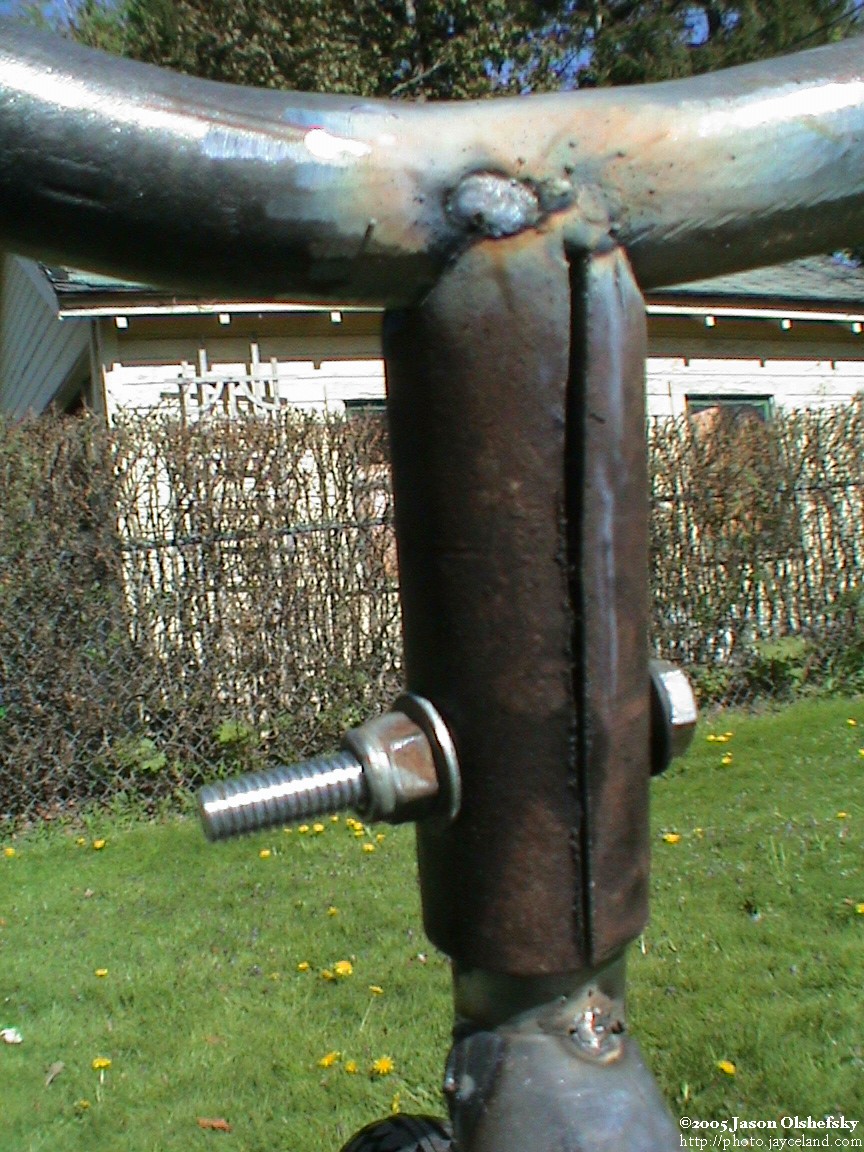
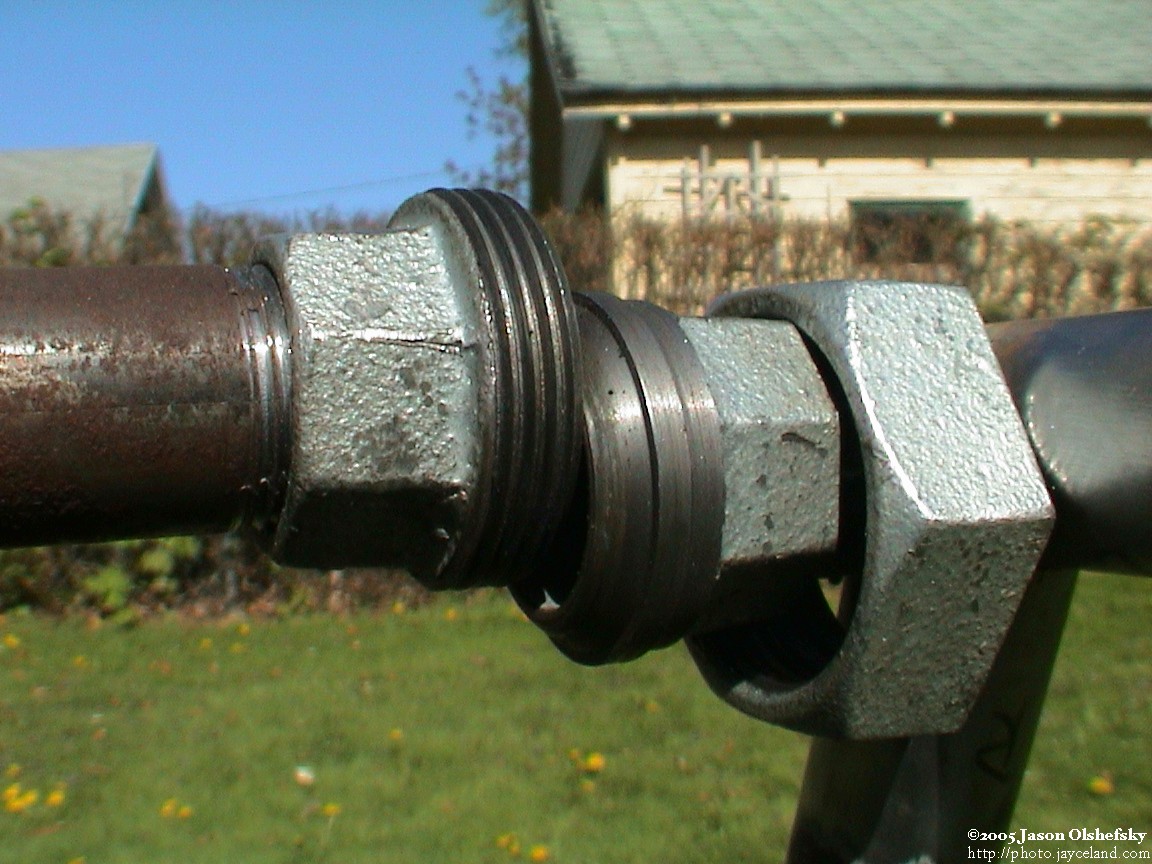
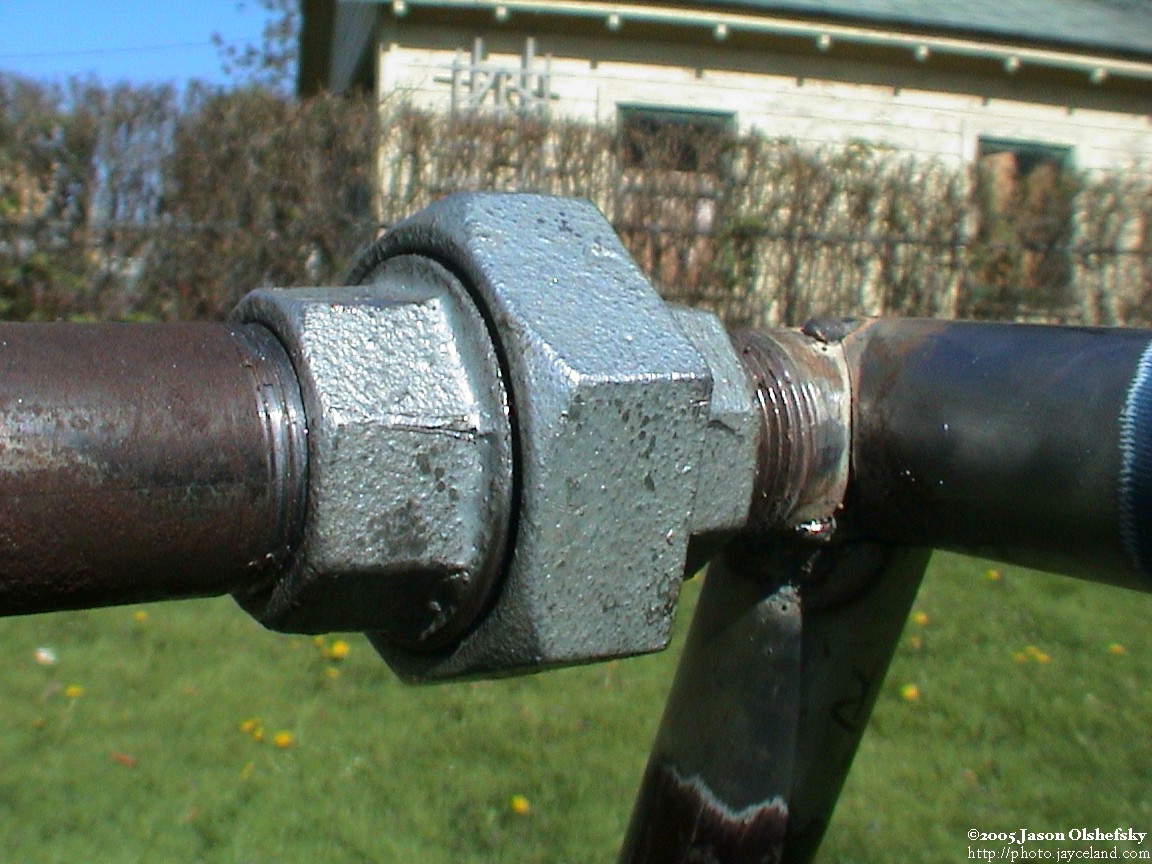
I also made couplers for the eyes by using 1" pipe with a slot cut in the side and bolt holes through. I mounted them to the unicycle forks. I put it all together and took some pictures.
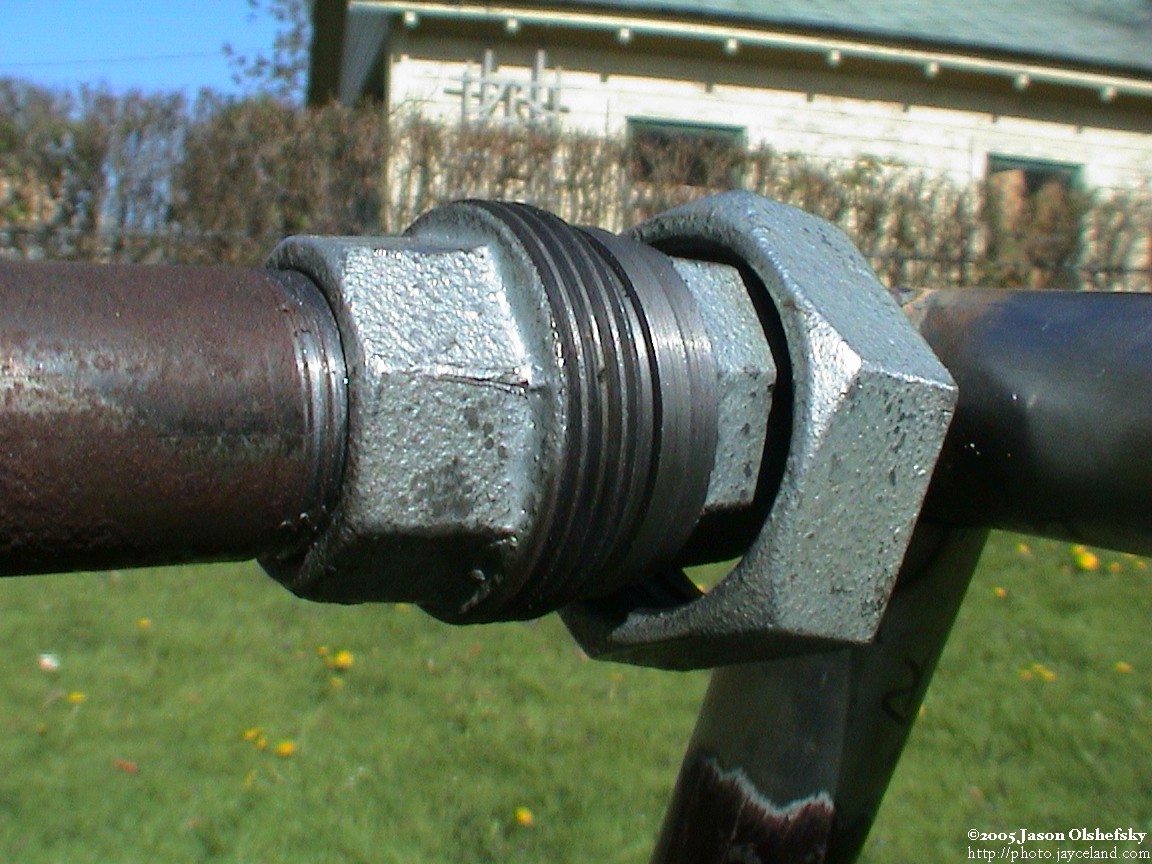
... but it's pretty easy to get them to snap into position (even if the photographer is falling over) ...
Assemble front-end of bike; dry-run frame assembly
Posted: 2005-May-2 Filed under: Frame, Projects, The Bike With 2 Brains Leave a comment »I spent a bit of time getting the front-end of the frame redesigned. In my original concept, the triangular framework on around the unicycle wheel would meet the bottom seat bar at a single point. The center pole always met with the seat bar in line with the top of the fork, but I changed it so the two bars off the forks run back to the seat bar rather than to a common point which would attach to the seat bar.
The kinked tube is part of the fourth bicycle frame sacrificed to the cause.
Oh yeah, and a few days ago I went to Austin-Spencer Collision (2433 Brighton-Henrietta Townline Rd.) who were much more amenable to painting things other than cars. The "short answer" is $60/hour for materials and labor to put paint on something. I figure I can easily pay $60 in spraypaint cans alone and do a crappy job, so I'm very tempted.
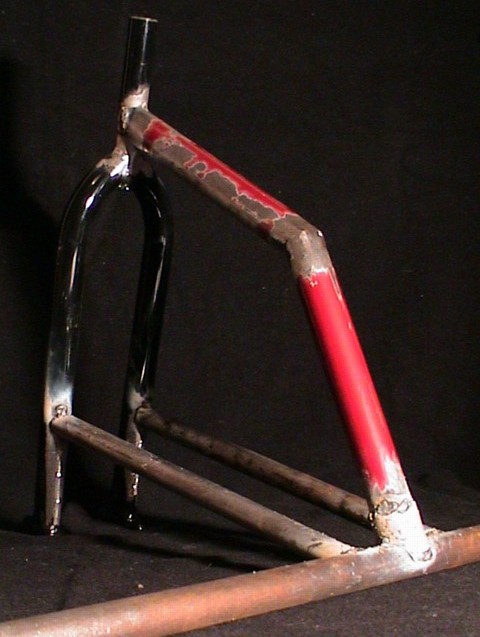
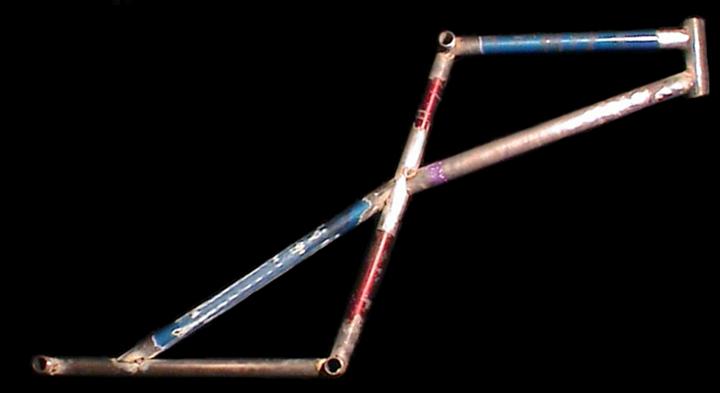
This is what the right-side of the front end looks like in case the worded description is too convoluted.
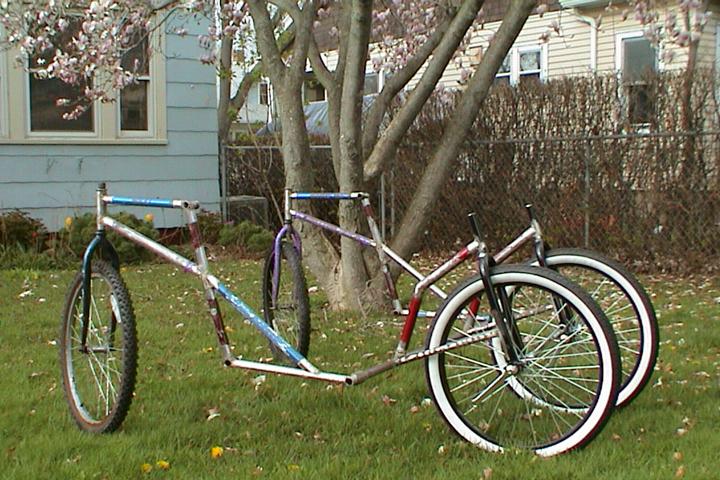
My magnolia tree is coming to the end of its first spring bloom. Oh ... yeah ... and this is what the frame looks like now.
Generators #5: The Permanent Magnet Rotor
Posted: 2005-April-24 Filed under: Power Source, Projects, The Bike With 2 Brains Leave a comment »I glued a couple magnets onto a wooden dowel with a screw through it to make a permanent magnet rotor. The magnets aren't particularly strong, and my first attempt had the poles opposite one another: that is, the north on one magnet mated with the south on the other, so the field was even weaker. (This all fit into the field coil from the Dirt Devil motor.) At 3,100 rpm, I could output 53 Hz AC at 2.7 volts open, 2.1 volts into 51 ohms (0.086 watts) and 0.7 volts into 3 ohms (0.16 watts).
While this isn't particularly promising, I purchased a pack of 50 0.25" diameter neodymium rare-earth magnets from K&J Magnetics. They're supposedly rated at N45 which I guess is almost as strong as you can get.
Finish tack-welding all of rear-end components
Posted: 2005-April-21 Filed under: Frame, Projects, The Bike With 2 Brains Leave a comment »I took a bit of a hiatus from the bike project to do something else but I finally got back to it. It took a little while to get my head around it again, but I quickly got going.
I put the seat bottom on the rear frame parts and added the diagonal cross-member (which didn't work out very close to specification, but no matter — I made it symmetrical.)
Install diagonal supports to rear assemblies
Posted: 2005-April-12 Filed under: Frame, Projects, The Bike With 2 Brains Leave a comment »I got the diagonal supports that tie the steering tube to the midpoint on the seat back. My calculations were off somewhere and the support is higher on the seat back than I had expected so I'll need to make some adjustments: I had originally designed the line of the support to pass through the seat back and cross the bottom of the seat but now it won't.
Begin building rear frame; great dumpster find
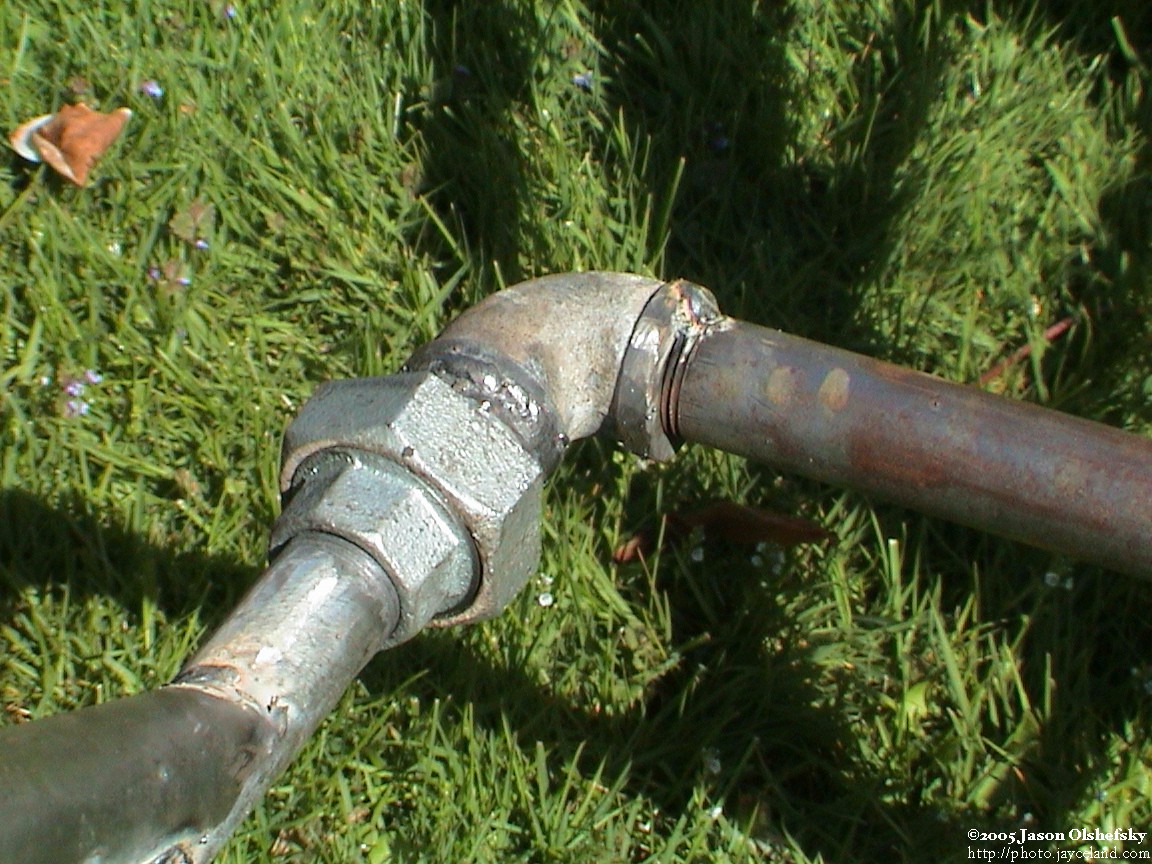
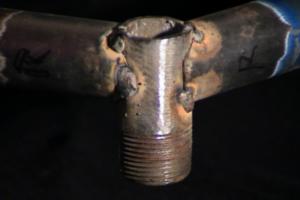
Posted: 2005-April-11 Filed under: Frame, Projects, The Bike With 2 Brains Leave a comment »I found a fence gate in the trash the other day and the tubing has the same inside diameter as a bicycle steering tube. I cut a couple pieces and tack-welded the top rear tube to the steering tube at a right angle. I'm using a grinder to create the rounded seams — sometimes I do a really good job and others will need some fill material. For the right angles, I've got magnetic holders to square them up. On the other end of the top tube, I welded a short length of 3/4" schedule-style threaded pipe. This way I can thread together the frame as needed.
The The University of Rochester Medical Center (601 Elmwood Ave.) is just down the street from my house, and they just recently closed their surplus sale site to demolish the building sometime in the future. During cleanup, they had thrown out the bed frames that rotate — I don't know what they're called, but they've got big steel hoops on each side. They had cut them up, but I snagged two pieces that I hope to use for the top of the vehicle frame. They were 72 inches across and 25 inches high &mdash approximately half of one of the hoops. I put representations in the CAD drawing and they're arcs from an 80-inch diameter circle. I'll need to bend them tighter than they are currently, but at least it's a start and will save me the trouble of starting from scratch with straight tubing.
Order the LED's
Posted: 2005-April-11 Filed under: Lighting, Projects, The Bike With 2 Brains Leave a comment »I got on the LSDiodes.com website and found the full-spectrum LED's were out of stock; it turns out they won't be available for around a month. I decided to get 3mm red/blue LED's and 3mm green LED's instead — the voltages are a little different, but overall they are much brighter (almost 3x) than the full-spectrum LED's.
Chop up bike frames
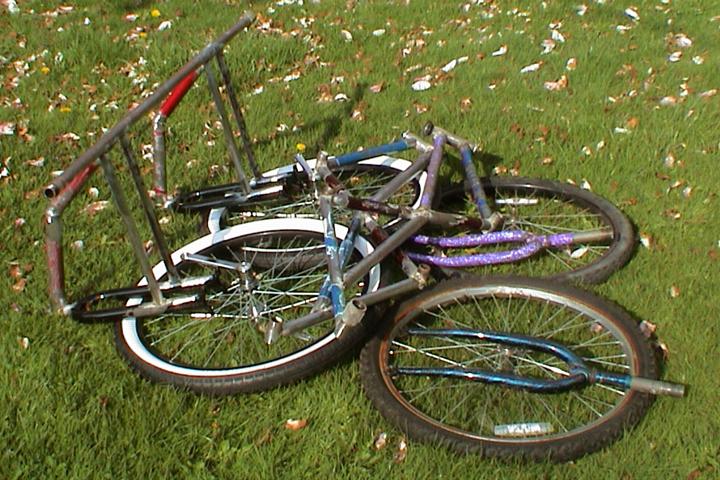
Posted: 2005-April-10 Filed under: Frame, Projects, The Bike With 2 Brains Leave a comment »I chopped up 4 bike frames and now have enough pieces of adequate length to make both sides of the rear end.
Find out about professional paint services
Posted: 2005-April-7 Filed under: Frame, Projects, The Bike With 2 Brains Leave a comment »Short update: I stopped by Mac's II Collision (3301 Brighton-Henrietta Townline Rd.) to ask about getting a bike frame painted but they said they wouldn't do it. However, I can get automotive quality paints next door and special primers for zinc coatings (like some of the pipe.)

Recent Comments