New back wheels
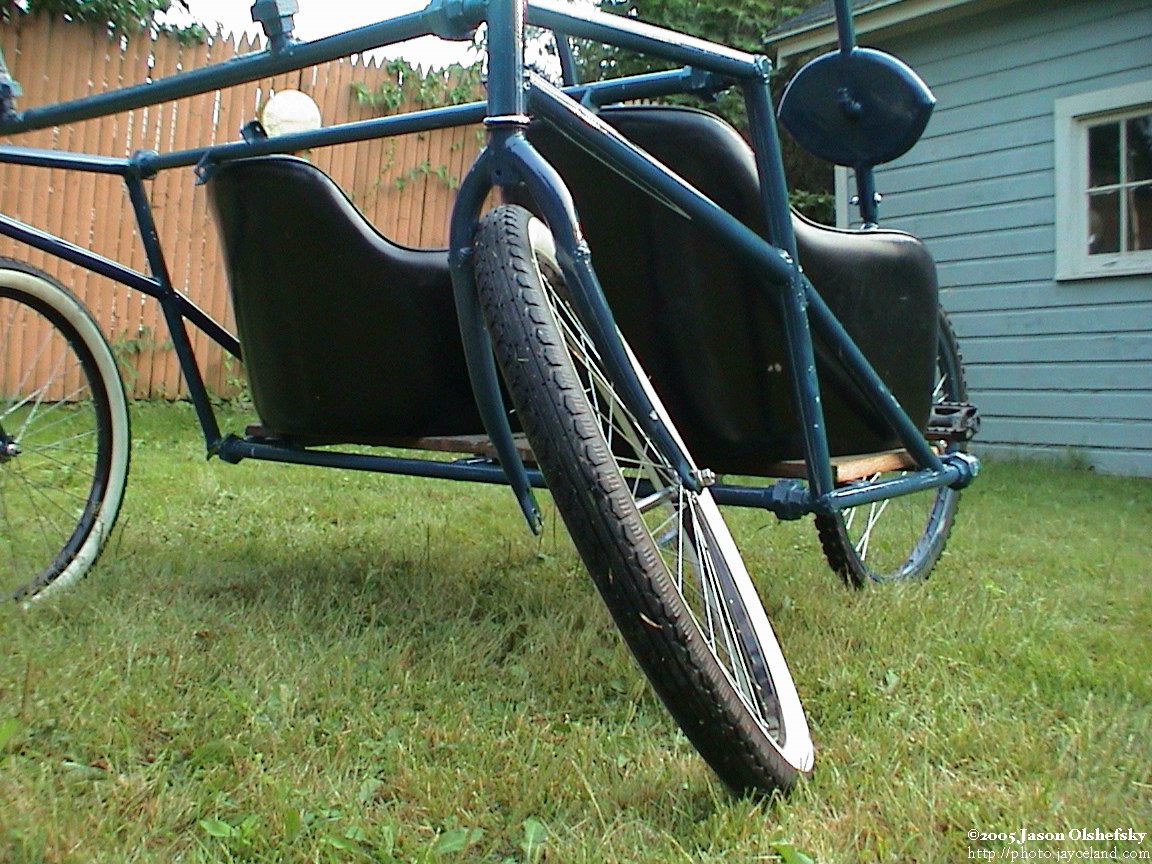
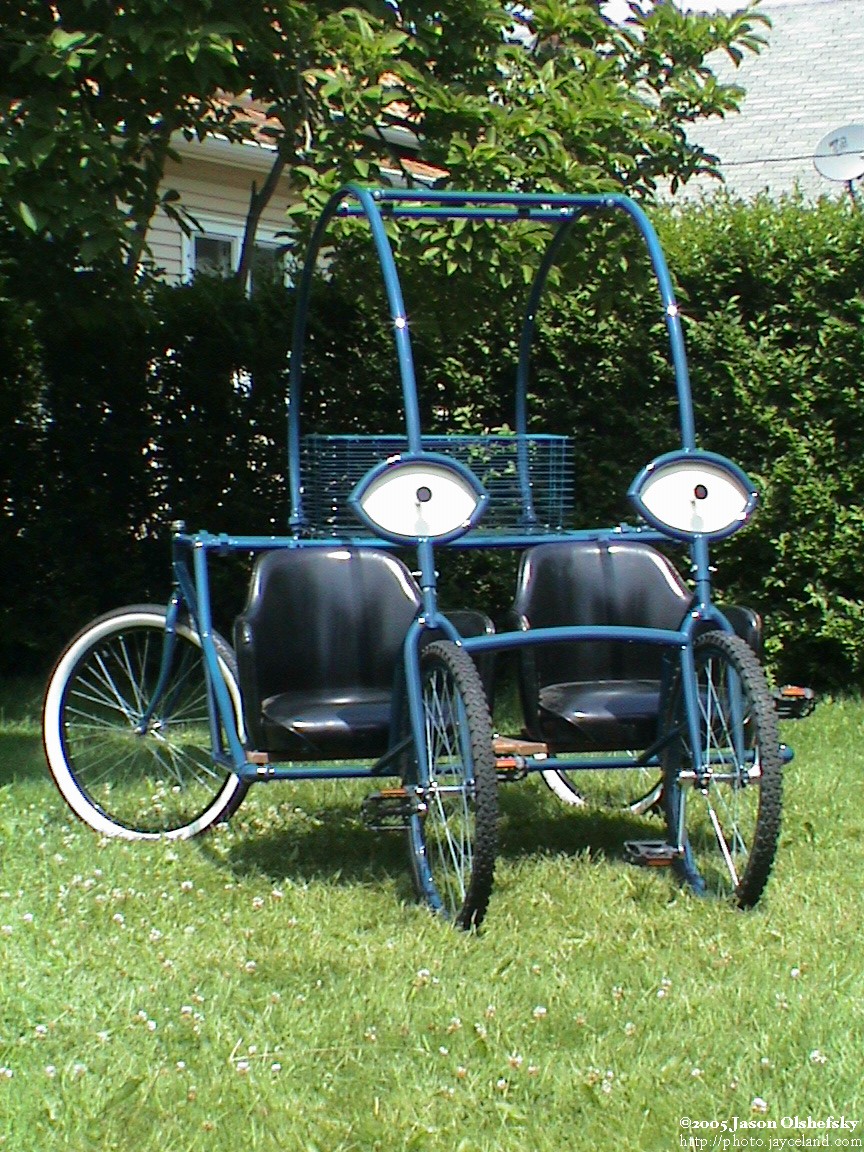
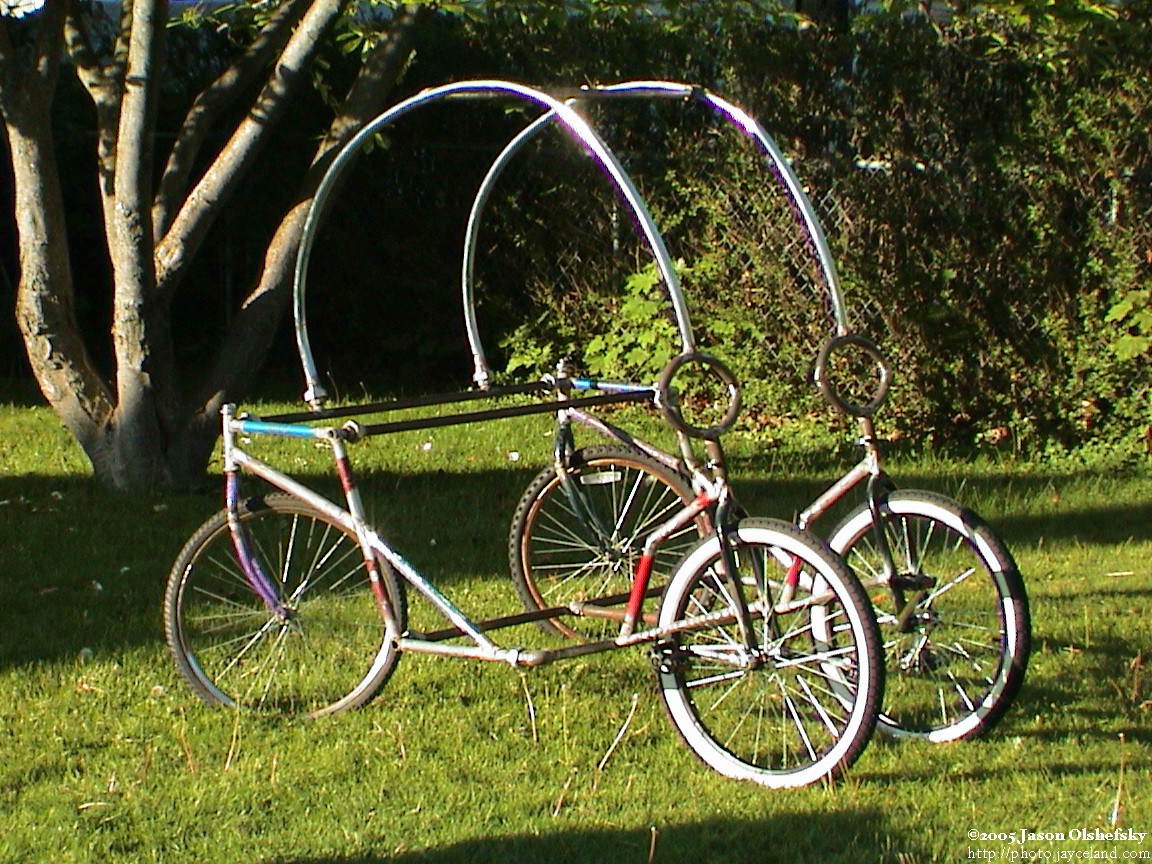
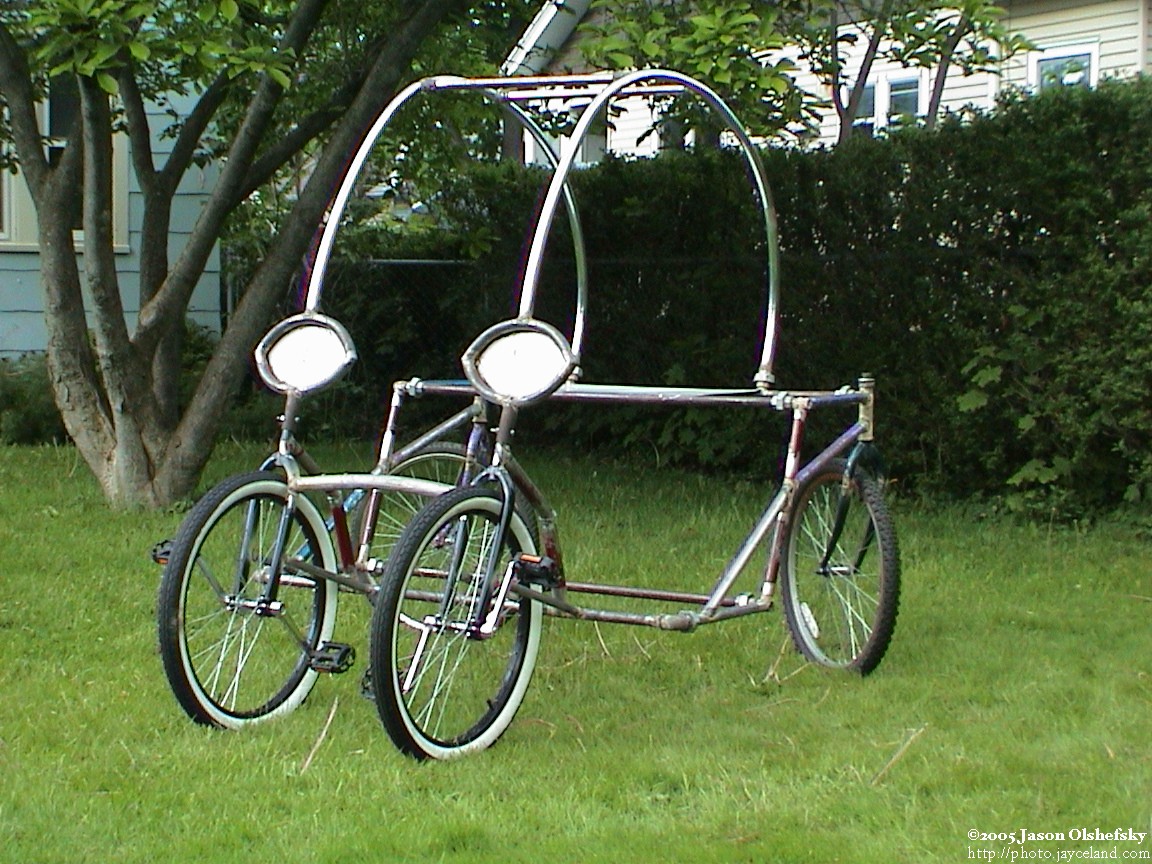
Posted: 2006-June-5 Filed under: Frame, Projects, The Bike With 2 Brains Leave a comment »I'd like to bring the Bike With 2 Brains back to Burning Man this year so I've been thinking about replacing the back wheels with ones that wouldn't break so easily. My dad gave me a couple 9" heavy-duty equipment casters so I figured I'd use them. I had originally thought to use larger ones, but free wins.
I tinkered around with the copper model a little to see what would look least stupid — 24" front wheels and 9" back wheels will probably look pretty silly. I decided to maintain the existing frame design as best I could (i.e. least amount of work to change) and just extend a leg with a decorative (and suspension-flex) bend in it and weld it to a plate, bolted to the caster. I had the plates from straight wheels I bought for my bicycle trailer, so I canabalized them for the project. I bent a piece of 1" water pipe then cut it so the bottom was perpendicular to the straight part of the pipe on top which gets welded to the old steering tube used with the original back wheels. It looks like the back end will ride a little higher with the new wheels, but not by much.
Adding a little shade and finger/head protection
Posted: 2005-August-15 Filed under: Frame, Projects, The Bike With 2 Brains Leave a comment »I did a quick project with a box-fan grill (one of the old metal ones.) I took some black fabric, hemmed the edges, and then hot-glued it to the fan grill. I mounted the fan grill under the generator/windmill: it tends to keep people from accidentally sticking their head or hands into the rotating windmill and the fabric provides a little shade.
Fitting the cases for the electronics
Posted: 2005-July-16 Filed under: Frame, Projects, The Bike With 2 Brains Leave a comment »I layed out how everything is going to fit on the rear deck. I have a "Zero" brand box for most of the electronics and I'll have to set it about 5 inches off the surface with the hinges to the back so the combination will be accessible below the battery box and so it'll clear the rear frame bar. I bought some blue spraypaint and painted some of the parts — the color isn't exactly right but it's close enough for the accessories.
Upholstering 101
Posted: 2005-July-15 Filed under: Frame, Projects, The Bike With 2 Brains Leave a comment »I had picked up a couple futon mattresses from the trash. One of them was red on one side and black on the other. I separated the two sides and pulled all the stuffing out — it's cotton batting that wraps around three layers of urethane foam. I cleaned the pieces of fabric.
I used plywood for the seat bottoms and back, cut to fit the mounting holes. I cut pieces of foam and wrapped each in batting then cut sheets of red fabric, wrapped them around the seat-side of the seats and stapled it all in place. I just kept finding where the fabric was slack, pulled it tight, and stuck in another staple.
In my mind I wanted something like lips which is why I picked red. I decided to cut notches in the seat back to imply lips. I want to maintain the industrial-organic appearance and very fluffy, organic-looking lips would seem out of place so I gave the "suggestion" of lips. I haven't had a chance to put it together to see how it looks.
Building a better, stronger, faster fork
Posted: 2005-July-6 Filed under: Frame, Projects, The Bike With 2 Brains Leave a comment »One of the forks broke during a test on July 4. The wheel got stuck against a bump in the grass and wouldn't turn. When more force was applied at the front wheels, the axle slipped out of the slot in the fork causing all the force to be applied to one leg of the fork and the wheel axle. It bent both parts pretty good.
I noticed that I had used forks for 26" wheels so I did the same for this one. I created two more bent forks so I'd have a spare.

Nothing like spotting poop in your yard to get you to slip the nut off the side of the fork and bend it to uselessness.
Make a shipping crate for some of the parts
Posted: 2005-June-30 Filed under: Frame, Projects, The Bike With 2 Brains Leave a comment »The title says it all: I made a wood box to hold the 6 straight bars for the vehicle. It's reasonably compact and keeps the bars from knocking against one another.
Assembling the painted frame
Posted: 2005-June-21 Filed under: Frame, Projects, The Bike With 2 Brains Leave a comment »I finally had a chance to put everything together with the office chairs and check it out. Some of the angles of the mounting points are off by a bit, but otherwise everything went together fine.
The final paint job
Posted: 2005-June-8 Filed under: Frame, Projects, The Bike With 2 Brains Leave a comment »I added masking tape to the portions I don't want painted and brought them to Austin-Spencer Collision (2433 Brighton-Henrietta Townline Rd.) I talked with Mark who didn't give me a rosy outlook for getting done by Friday — I hustled to finish the frame so I could bring it to the ARTWalk (University Ave. from Atlantic to Merriman) Muse-a-Thon on Saturday, June 11. However, after he had his painter check it, he felt they could finish by Friday afternoon.
I took apart the wheels I had (the front rims are being painted) and reassembled the tires for the back wheels. It took a while to get the hang of assembling the wheels right — alternating the spokes the right way and all so it all fits together. I tightened up the spokes and got them "true enough:" they're still a bit warped, but good enough for what I need.
I used some office chairs I had and took them apart to use temporarily on the vehicle.
I stopped by Austin-Spencer Collision (2433 Brighton-Henrietta Townline Rd.) around 4 on Friday and by the time I left around 4:45, they still weren't done. Mark said he'd try to get there tomorrow morning around 8 and I could come by and pick it up, but that leaves me almost no time to finish building stuff, so I suggested we just call it off. I doubt that I could be ready in an hour from the time I get back with this stuff until the time that I could get to ARTWalk (University Ave. from Atlantic to Merriman) since I had to build the bike wheels, build the seat, and getting everything taken apart and put back in the car (the event was from 10 a.m. to noon.) There's just no way. I e-mailed some people I told about it and called it off.
On Monday I picked up all the parts. They look really good with the navy blue automotive clear-coat applied. Definitely much different than the scrappy metal I started with. When I assembled the front wheels, it took nearly 2 hours to make two wheels so I never would have made it to the ARTWalk event on Saturday.
Getting started with paint
Posted: 2005-June-2 Filed under: Frame, Projects, The Bike With 2 Brains Leave a comment »I had found a metal cage in the garbage across the street so I cut it to a smaller size and welded it together. It's for the top of the rear shelf so people are tempted to use the shelf for stuff instead of riding on. I sanded it a bit and threw on a couple coats of primer real quick — it's already mostly painted.
I applied primer to the eyes and the top rails then drilled holes and tapped top rails for the brackets to hold the light tubes. I finish-welded the seat brackets, measured them (figuring I could build the seats while it's getting painted at the shop) and ground down the sharp edges.
I created a pretty decent battery holder out of the battery cage in a dead computer UPS but did a lousy job installing it. The solid metal shelf which is welded to the frame is a bad idea. It warped even more with the additional welding and I got really unhappy about it so I had to cut off the battery cage and the shelf.
I got the front end parts stripped of rust and primered. I spent the better part of a whole day painting and finished applying primer. I made hooks for all the parts so they can be painted.
More frame welding stuff
Posted: 2005-May-26 Filed under: Frame, Projects, The Bike With 2 Brains Leave a comment »I built the bent frame parts (the overarching parts) and welded them in place. I also added a cross-piece between the front unicycle forks. I welded the rear shelf in place and welded on the backs of the eyes. I used the sheet metal from a junked washing machine. I welded pipe angles behind the eye holes to house the LED's to light up the eyes. I created the pupils by welding a large washer onto a bolt head. I also installed mounting points for the seats.


Recent Comments